Zeroing Checklist — range procedure and zero record
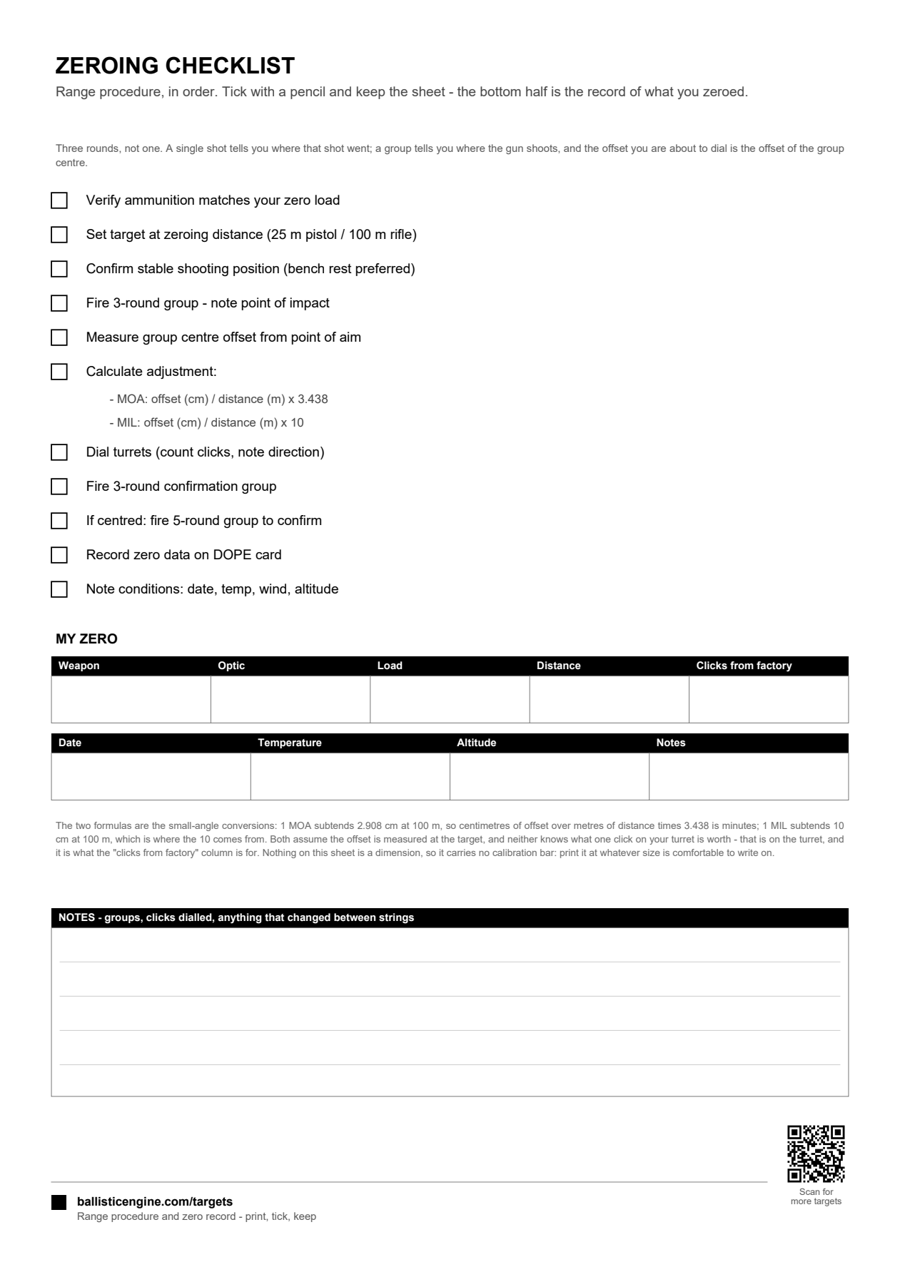
The order to do it in, with a box to tick beside each step, the two adjustment formulas, and a blank record at the bottom for what you zeroed and the conditions you zeroed it in.
How to use it
- Print it, put it on the bench, tick with a pencil. It is a procedure sheet, not a target — nothing on it is dimensional, so print it at whatever size is comfortable to write on.
- Three-round groups throughout. One shot tells you where that shot went; the offset you dial is the offset of a group centre.
- The formulas convert an offset measured at the target into minutes or milliradians. What one click is worth is a property of your turret, which is why "clicks from factory" is a column to fill in.
- Keep the sheet. The bottom half is the record, and a zero you cannot reproduce is a zero you will shoot again next season.
Dimensions on this sheet
| Step | Do this |
|---|---|
| 1 | Verify ammunition matches your zero load |
| 2 | Set target at zeroing distance (25 m pistol / 100 m rifle) |
| 3 | Confirm stable shooting position (bench rest preferred) |
| 4 | Fire 3-round group - note point of impact |
| 5 | Measure group centre offset from point of aim |
| 6 | Calculate adjustment: |
| 7 | Dial turrets (count clicks, note direction) |
| 8 | Fire 3-round confirmation group |
| 9 | If centred: fire 5-round group to confirm |
| 10 | Record zero data on DOPE card |
| 11 | Note conditions: date, temp, wind, altitude |
Other reference sheets
Numbers for your own load. This sheet is a standard, the same for everyone. What your barrel, altitude and temperature do to a bullet is not — the calculator works that out for any load in the database.