Vital Zone Target — Elk
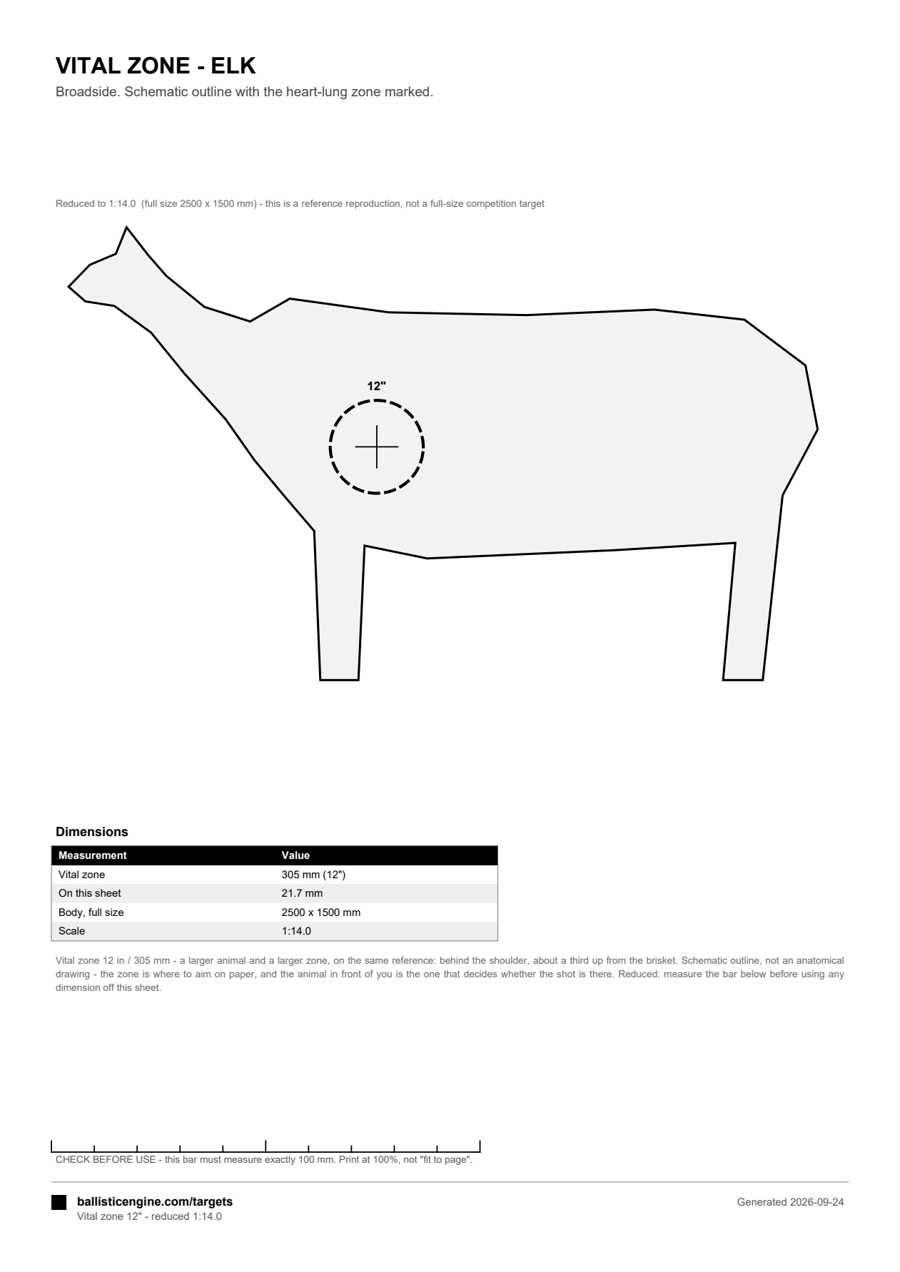
A bigger animal and a bigger zone — 12 inches against a deer's 8 — on the same reference: behind the shoulder, about a third up from the brisket. The extra size is not extra margin; elk are usually shot further away.
How to use it
- Print at 100% and check the 100 mm bar.
- The zone is 12 in / 305 mm at full size. It looks generous on paper and stops looking generous at 300 m.
- Elk are taken at longer range than deer, so the drop matters more — pair this with a come-up chart for your load.
- Heavier bone and more of it: check the energy your load still carries at the distance you expect to shoot.
Dimensions on this sheet
| Measurement | Value |
|---|---|
| Vital zone | 305 mm (12") |
| On this sheet | 21.7 mm |
| Body, full size | 2500 x 1500 mm |
| Scale | 1:14.0 |
Other targets
- Zeroing Target — 9×19mm @ 25 m
- Zeroing Target — 5.56 NATO @ 100 m
- Zeroing Target — .308 Win @ 100 m
- Diagnostic Target — group analysis
- Holdover Chart — 9mm, 7 to 50 m
- Holdover Chart — 5.56 NATO, 50 to 300 m
- ISSF 10-Ring — Olympic air pistol
- NRA B-8 Repair Centre — 25 yd pistol
- IPSC / USPSA Classic
- IDPA Target
- FBI Q Silhouette
- Threat Silhouette — no zones
- ISSF 10 m Air Rifle — Olympic precision
- .308 Come-Up Chart — 100 to 800 m
- Vital Zone — White-Tailed Deer
- Vital Zone — Wild Boar
Customize for your setup. Barrel length, altitude and temperature all move the drop. The calculator takes any load in the database and recomputes this table for your conditions.